Adjustments Window
Once the initial call for fire is transmitted (all 3 transmissions), VBS2Combined Arms will calculate firing data and fire the 1st adjusting round. A new window will appear for subsequent corrections, modifications to the call for fire, or ending the mission.

∆ Image 4l: Adjustments for the Asset |
- Subsequent Corrections . After the initial burst appears, the observer transmits subsequent corrections until the mission is terminated.
Note:
When an adjustment is given from the fourth panel to be fired immediately, it should be of the following items listed below as the other items will only update the previous mission request only:
- Add/Drop, Right/Left, Up/Down,
- AF/FFE, Fuze change,
- A method of Control command except "At my Command"
- REPEAT
The most common adjustments will be entered in the top part of this window.- OT line. This is the direction from the observer to the target in mils. The observer can transmit direction at any time.
- Distance. This is the distance from the observer to the target in mils. Polar adjustment is achieved by the observer obtaining the range (Distance) and direction (OT line) of the impact of the adjustment round that had just been fired.
- Right/Left. Number of meters to adjust the round to the right or the left of the last impact. A positive number adjusts the round to the right, negative adjust the round to the left.
- Add/Drop. Number of meters to adjust the round away (over) or closer (short) of the target. A positive number adjust the round over, negative adjusts the round short.
- UP/Down. Used for height of burst or adjusting to a target that is lower or higher in elevation to the observer. A positive number adjust the round in meters up, and negative adjusts the round in meters down.
- Adjustment and Fire for Effect buttons. Allows the observer to switch to the Fire for effect or adjustment phase. If ammunition was selected for a phase, that ammunition will be fired, default is HE/Quick.
- Check Fire. Stop all firing during multiple round missions. Button will change to Cancel check fire, click to continue firing.
- Cease Loading. Fires any rounds currently loaded, and then stop all firing. Button will change to Cancel Cease Loading, click to continue firing.
- End of Mission. Terminates the current mission. The keyboard shortcut for this is ‘Ctrl + E’. This shortcut works in all the NATO fire mission windows.
- Record as target. Records the current mission as a target. Once recorded the target can be used in shift missions.
- Repeat: The current mission will be re-done.
- Fire: The current fire mission information will be used to complete the mission. This is the follow-up to “At My Command” order from the third transmission panel.
- Illum Mark: When FFE Illum is sent from the 3rd Panel, then the fourth panel will display the “Illum Mark” button. When this button is selected, then a “Coordinated Illumination” needs to be sent.
- Change Method of Engagement, Target Description, Change Method of Fire and Control
These windows are similar to the 3rd transmission from the initial call for fire. The observer can make a change to any element in the call for fire

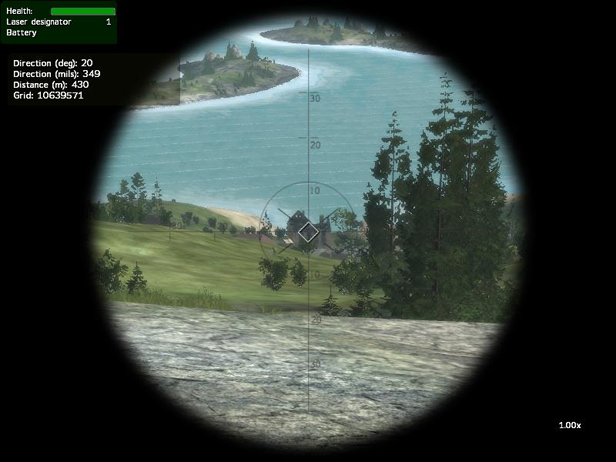
∆ Image 4m: VBS2 Observer using a Laser Designator to retrieve coordinates |
